-2.png?width=156&height=60&name=Hawkin%20Logo%20(2)-2.png)

Welcome Congratulations on your purchase of the Hawkin Dynamics force plate! This is an introduction on how to connect the force plates and also best practices when using the force plates.
Surface Type When setting up the Hawkin Dynamics force plates make sure to place the force plates on a level surface. A level surface ensures that there are no errors in the force plate readings. The best surface type is a concrete, or concrete-like surface. However, the biggest thing is to consistently test on the same surface.
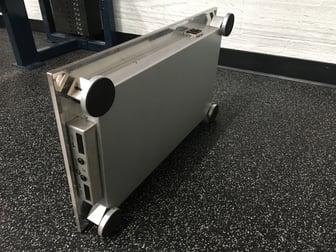
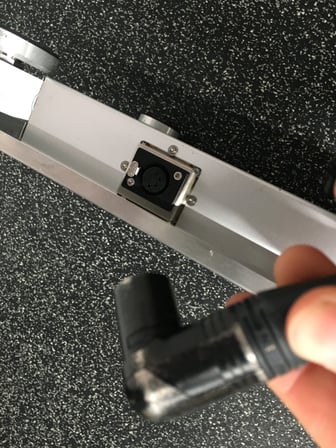
Setting up the force plates After you have selected the correct surface you will be using for your force plate testing, you will want to place the feet on the bottom of the two units. Gently turn the force plate units on their side and place the feet on the units (4 for each unit). Make sure that all of the feet “click-in”. Once the feet are in place, connect the two force plate units to each other via the black cable. The unit with the buttons on it is the right unit, whereas the other unit is the left unit. If you are unsure if the feet are fully “clicked-in”, simply flip over the force plates and stand on them allowing your body weight to “click-in” the feet.
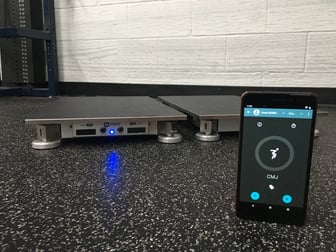
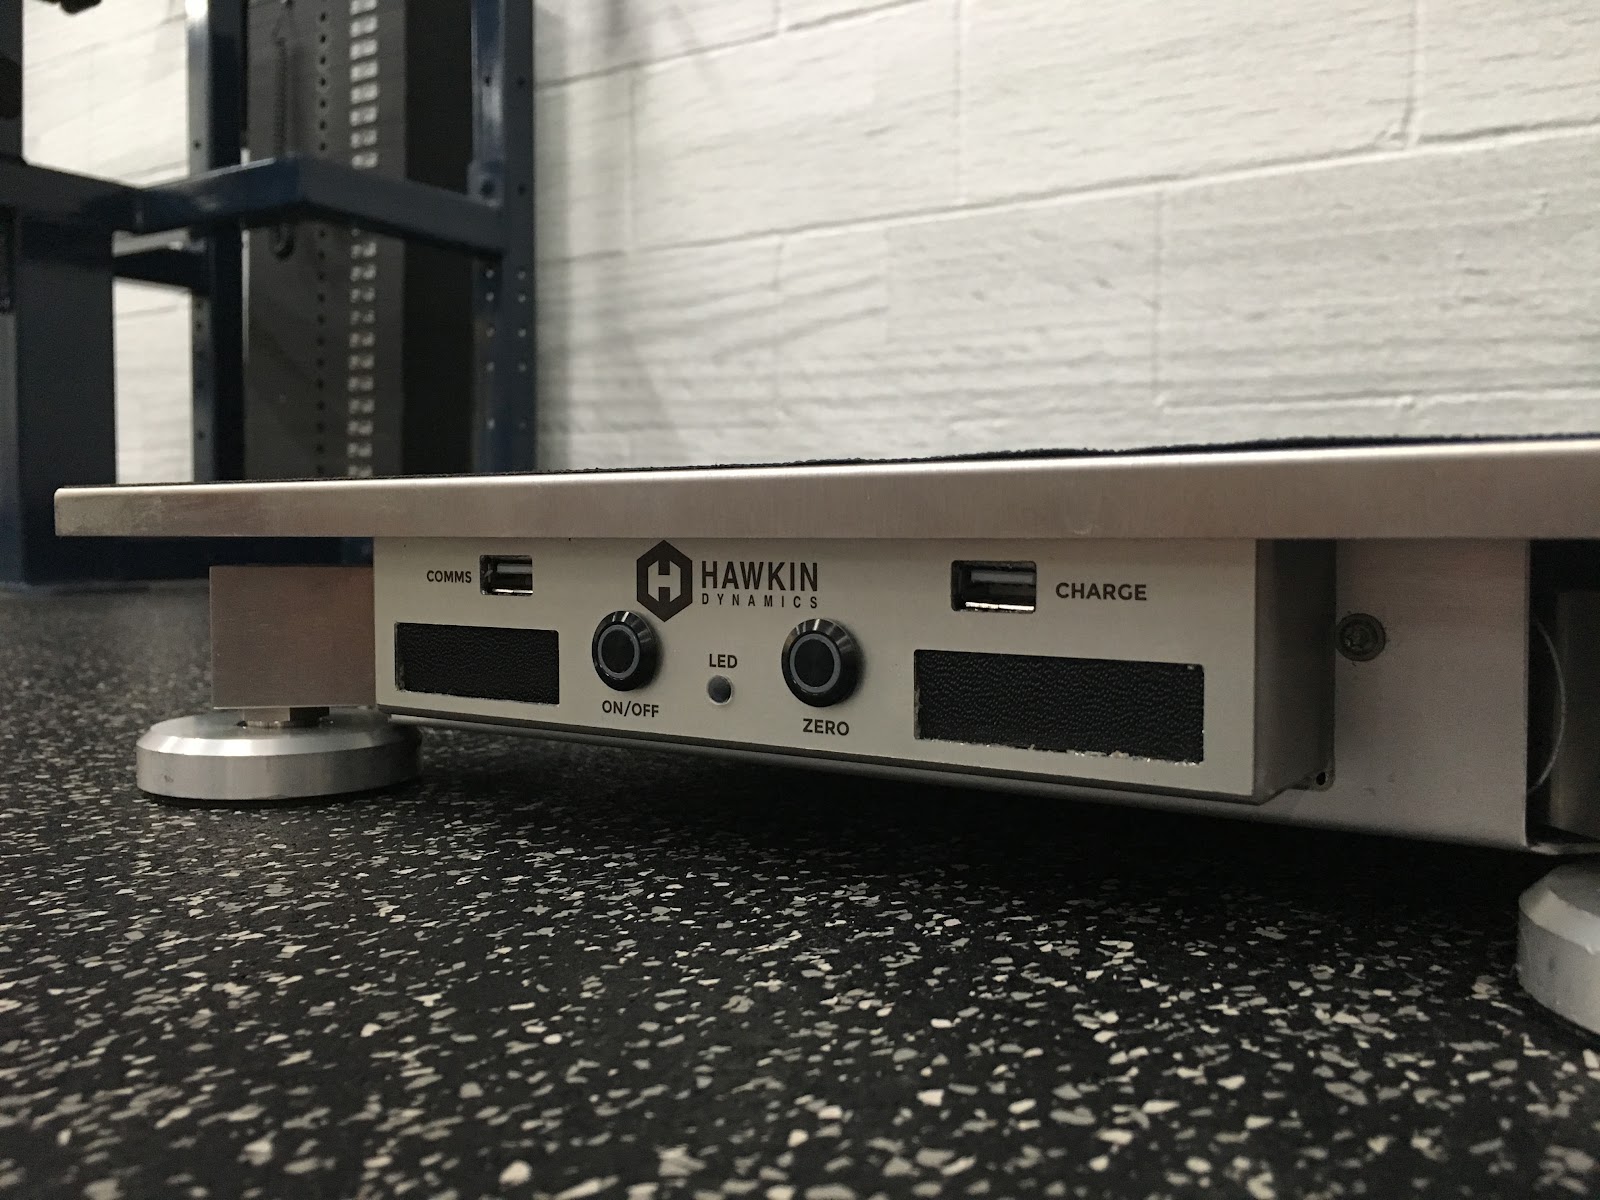
Turning on the force plates Once the black cable is connected it is now time to turn on the force plates. Simply turn on the force plate by pressing the “on/off” button on the right unit. The light will then blink in the following order: green, blue, white, and red.
Once the units are ready to connect the LED will stay green and then start blinking between blue, white, and green. The units are now ready to pair with a device.
*Best practice is to allow your force plates to sit for 10 minutes prior to testing after moving locations. This will ensure that the force plates do not pick up a noisy signal.
Pairing a device In order to pair a device to the force plates, first ensure that your device is turned on and connected to a local wireless internet (wifi) source. Once you are connected to wifi you can now search for the force plates. Once the device finds the force plates it will appear on your device.
Click on the force plates and wait for it to connect. Once the device is connected to the force plates the LED will blink blue and your device will show a “Manage Connection” pop-up.

The battery status on the force plates will also appear here “Battery Status”.
Next, click off of the “Manage Connection” pop-up. You are now ready to begin testing.
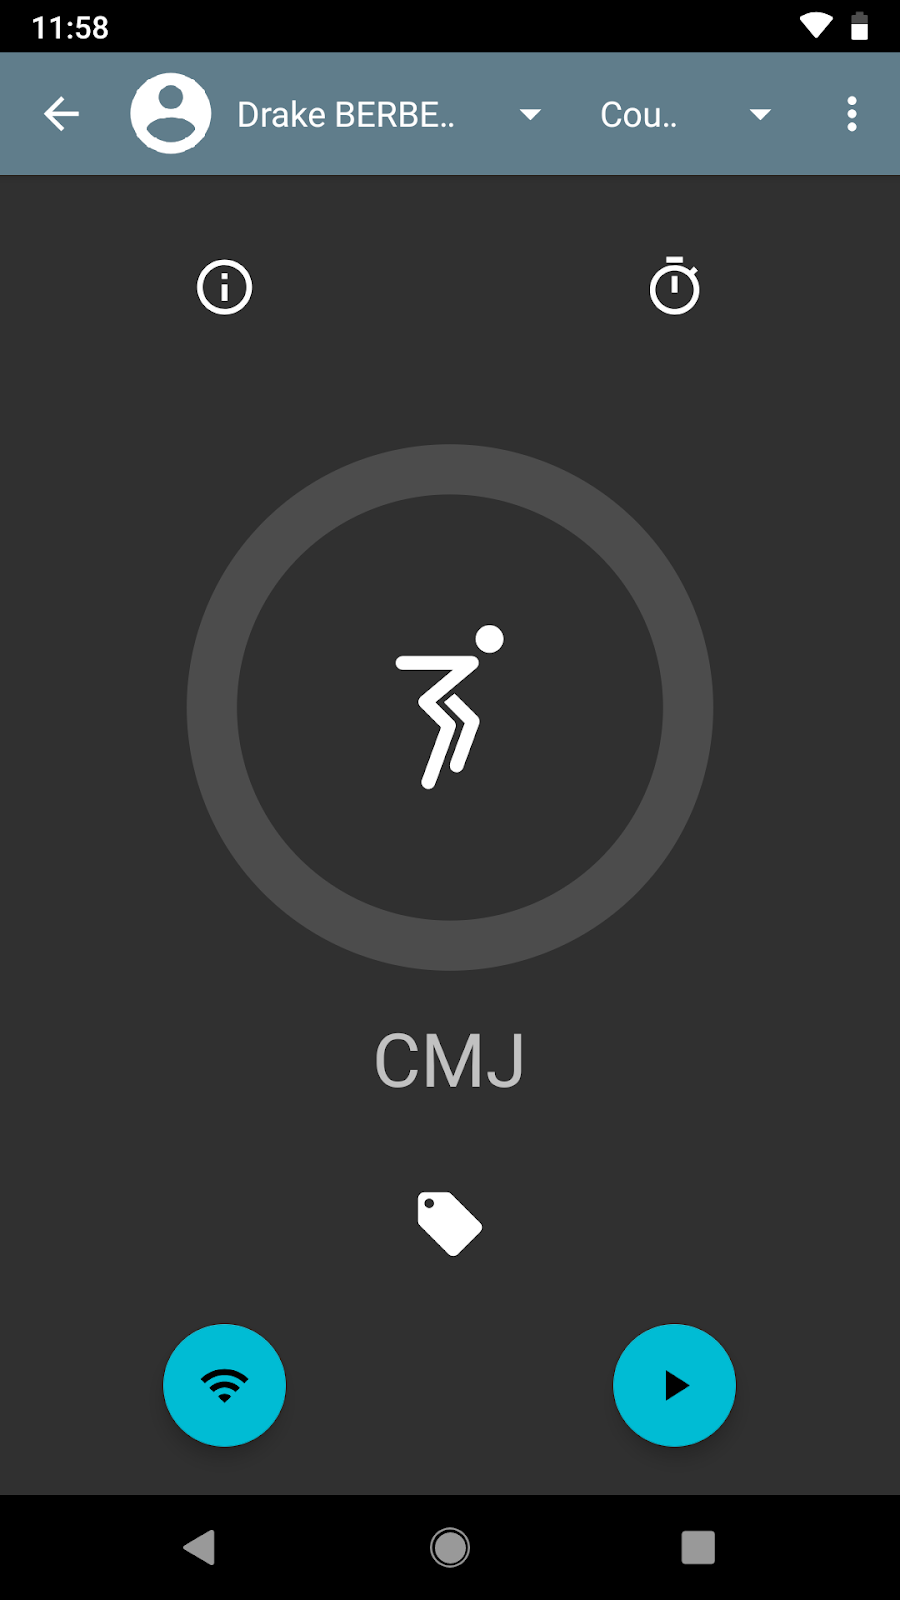
Test run It is important to first conduct a test run on the force plates prior to testing your athletes. This will ensure that the force plates are level and a normal output is being recorded. In order to conduct this test run, you should select “Free-Run” or “Countermovement Jump” as the testing option.
After the test run is completed view the curve and make sure everything looks normal and system weight is accurate. If you know your body weight in pounds you can divide system weight (Newtons) by 0.2248.
If everything looks good, click the “x” in the bottom left corner to get rid of the test run.
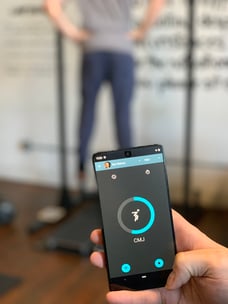
Ready for testing procedure Once you have successfully connected the force plates and have them running properly, it is now time to begin testing your athletes. Select the desired test and begin.
List Instructions
-
Use the correct testing surface.
-
Place the feet on the bottom of the force plate units.
-
Connect the black cable between force plate units.
-
Turn on the force plates.
-
Step on the force plates.
-
Let the force plates sit for 10-min prior to testing.
-
Conduct a pre-testing trial.
-
Ready for testing.