

This guide will take you through the process of setting up, connecting to, and operating your Hawkin Dynamics wireless force plates.
For questions, technical support, or other matters, please submit a ticket here or simply contact support@hawkindynamics.com
The Hawkin Dynamics Force Plates are very simple to operate once they have been set up. Follow these simple instructions to get started, and use the built in LED indicator light to understand what is happening with your Force Plates.
Power on your force plates by pressing the on/off button once. The force plates will boot, zero, and then enter into “Pairing Mode.”
 If the LEDs are holding green OR blue (some models the LED is reversed, don't be alarmed!) - this indicates that they are zeroing out - DO NOT TOUCH THE PLATES WHILE THIS IS HAPPENING
 Three lights alternating indicates that the plates are booted and are in pairing mode, ready to accept a connection
 Blue (on some models this will be green) indicates that the plates are connected to a device and are in standby, ready to run tests
  Yellow indicates that your plates are in standby mode, but that the battery level is low.
Once the plates have finished booting, zeroing, and have entered pairing mode, you are now ready to connect. The boot process takes less than 20 seconds, and it is essential that you wait for the plates to enter pairing mode before attempting to connect.
Ensure that the plates are in pairing mode by observing the LED indicator light sequence and referring to the list of sequences above.
Open the Hawkin Capture™ app and create/select an athlete to enter the testing screen
NOTE: enable WiFi on the tablet
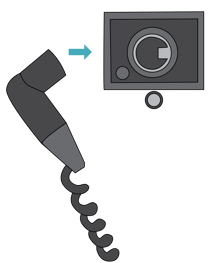
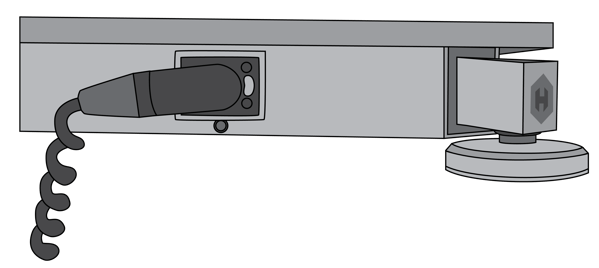
On the testing screen, tap the connection button (WiFi Icon) in the lower left hand side of the screen and select the correct plate. NOTE: plates are identified in the app by the last 3 digits of the serial number located opposite the inter-plate connection cable.
After you select the correct plate, wait for the connection to be established. Once connected, you will receive the status of the plates in the connection dialog, as well as their current battery status.
PROBLEM: My plates’ LED indicator light is flashing Red
SOLUTION: This indicates that the plates are in an error state, typically related to the connection between the two plates. Check the connection and see if the LED status changes.
SOLUTION: First step is always to reboot the tablet and the force plates and try again. Wait until the plates enter pairing mode before connecting. If problem persists, reboot plates and wait 3-4 minutes before attempting to connect again. It can also help to turn WiFi on and off on the tablet between attempts.
PROBLEM: One (or both) of my plates are reading heavy or low.
SOLUTION: Re-zero the plates and check the weights again. If the values are not correct, relocate the plates to a different spot and try again. Flooring evenness and material differences will impact readings.
If you continue to run into problems operating your force plate system, please click the button below to submit a ticket and a member of our team will reach out within 1 business day (typically a lot faster) to assist.
